
Codex Foundations
Understand what Codex is, how it differs from a regular chatbot, and why giving an AI agent a workspace produces better results than just writing a prompt.
What you'll learn
- ✓Explain what Codex is and how it differs from a chatbot
- ✓Understand the role of workspace, files, tools, permissions, and preview
- ✓Describe the AI agent mental model in plain language
- ✓Set up your first Codex practice project folder
The Big Shift
AI is moving from chat responses to supervised workflows. A chatbot gives you answers. An AI agent works inside a controlled environment, uses your files, follows your rules, and produces work you can review before trusting.
Most people first meet AI through a chat interface. You type a question, it replies. That model is useful for quick lookups, drafting, and brainstorming. But it has a ceiling. Every conversation starts from scratch. The AI doesn't know your business, your files, or your project. You paste context in manually every time.
Codex works differently. Instead of answering questions, it works inside a project. It can inspect files, suggest changes, edit files, run tasks, and produce outputs you can review before using. That's the shift this course is built around.
Get Codex Installed
Before anything else in this course, you need Codex on your machine. If you already have it installed and you've signed in with your OpenAI account, skip ahead.
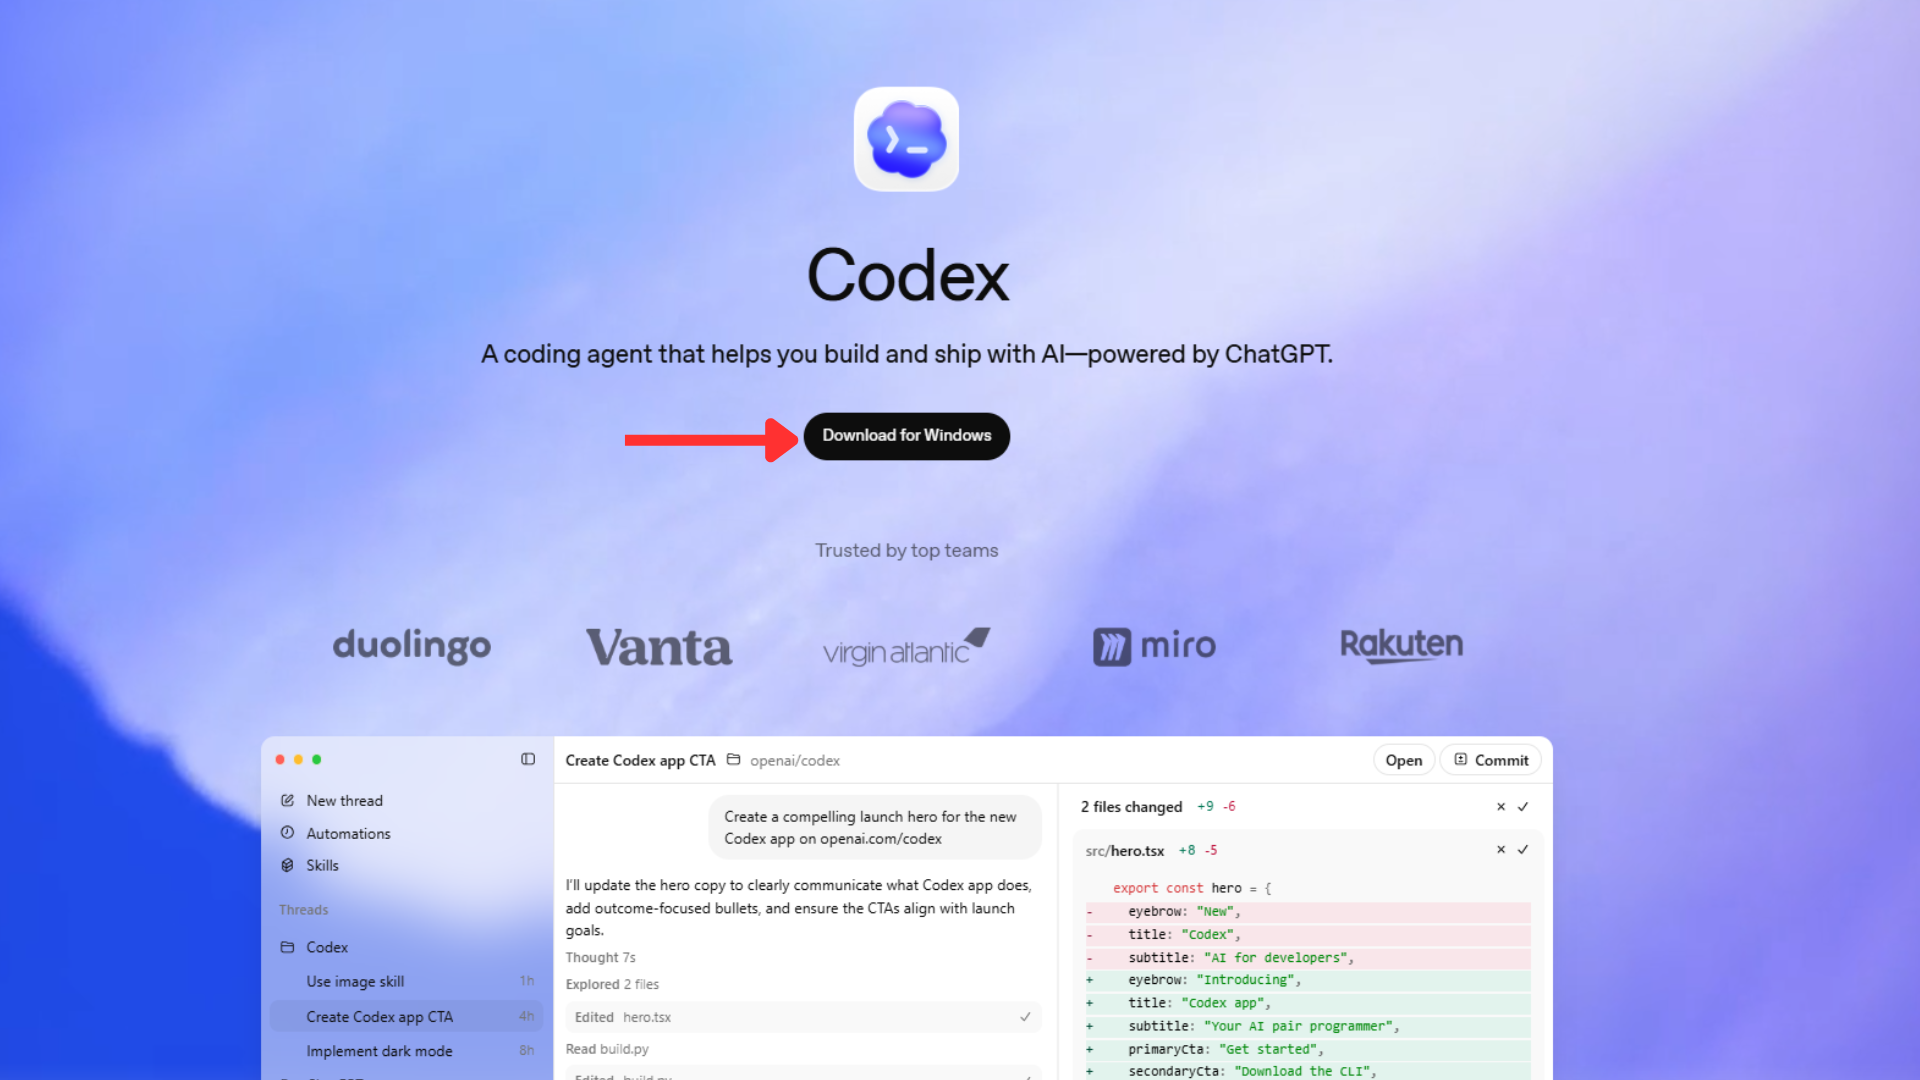
Go to openai.com/codex and click the button for your operating system. The installer is straightforward. Once it finishes, open Codex and sign in with your OpenAI account. After signing in, click New Project and name it something like Codex Crash Course. You'll add your context and instructions to this project as you work through the modules.
Once you're in, leave Codex open alongside this module. The rest of the content will make more sense once you can see what you're reading about.
Chatbot vs. Agent
Here's a simple way to understand the difference:
You paste context every time.
Starts fresh each session.
Replies with text only.
No access to your files.
Can't run tasks or workflows.
Output is a message.
Works inside your project.
Reads your files and folders.
Can use tools and run code.
Follows permission rules.
Produces drafts you review.
Output is actual work.
The practical difference is this: a chatbot helps you think. An agent helps you do. This course teaches you how to use Codex as a supervised digital worker, not just a smarter search engine.
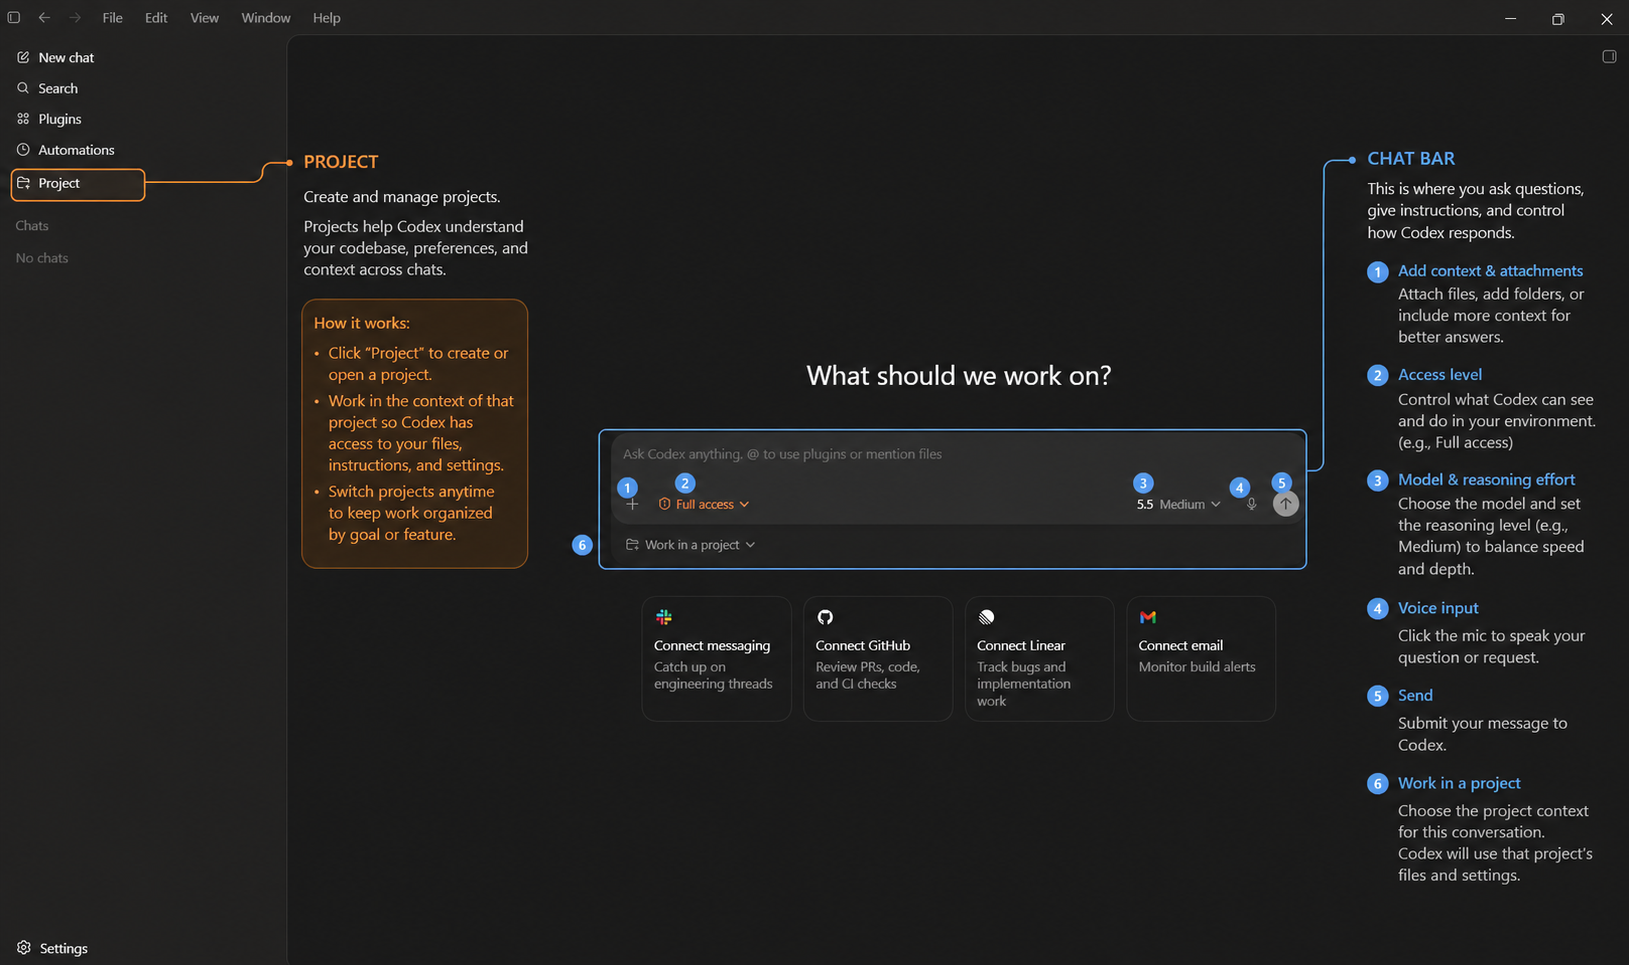
This is the Codex interface you'll be working in throughout this course. On the left is the Project panel. Each project holds its own memory, files, and custom instructions, kept separate from every other project. At the bottom is the Chat Bar, where you write prompts, attach files, and control how much Codex is allowed to do. You'll get hands-on with every one of these controls as the modules progress.
Model Controls: Intelligence and Speed
When you open Codex, you'll notice two settings you can adjust: Intelligence and Speed. These control how the model approaches a task. Knowing what each one does helps you get better output and use your plan wisely.
Intelligence
The Intelligence setting controls how deeply the AI reasons through a task. Think of it as choosing how much thinking power to apply.
| Setting | Best for |
|---|---|
| Low | Quick, simple work. Rewriting a sentence, brainstorming a few ideas, or asking something basic. Fast and light. |
| Medium | A good default for most everyday tasks. Works well for lesson writing, business content, emails, simple planning, and general problem solving. |
| High | Use this when the task needs stronger reasoning or more careful output. Good for debugging, building course materials, analyzing data, creating project plans, or comparing options. |
| Extra High | For complex work where quality matters more than speed. Use this for advanced coding, detailed strategy, deep analysis, troubleshooting, or important business decisions. |
Speed
The Speed setting controls how quickly the model responds.
| Setting | Best for |
|---|---|
| Standard | The default. Normal response speed and normal usage. Works well for most tasks. |
| Fast | Quicker responses, but it draws more from your plan or usage limit. Helpful for rapid back-and-forth, quick edits, or faster brainstorming. |
A simple rule: match the setting to the task. Don't use Extra High for a subject line. Don't use Low for a project plan.
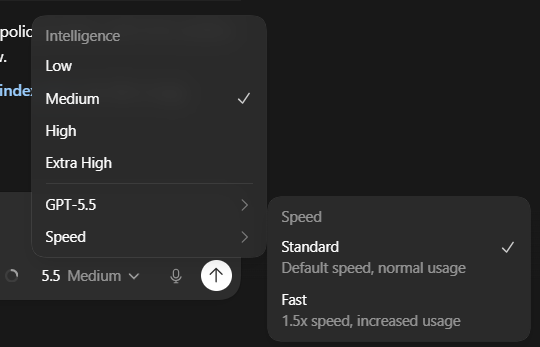
Use Medium Intelligence and Standard Speed for most lessons. Move up to High when you're working on projects, websites, coding, data analysis, or anything where accuracy matters more than speed.
The Codex Mental Model
Every good Codex workflow follows this chain. Keep it in mind throughout the course.
Step 05 of that model, Permissions, is controlled by a single dropdown in the Chat Bar. Here's what each level means in practice:
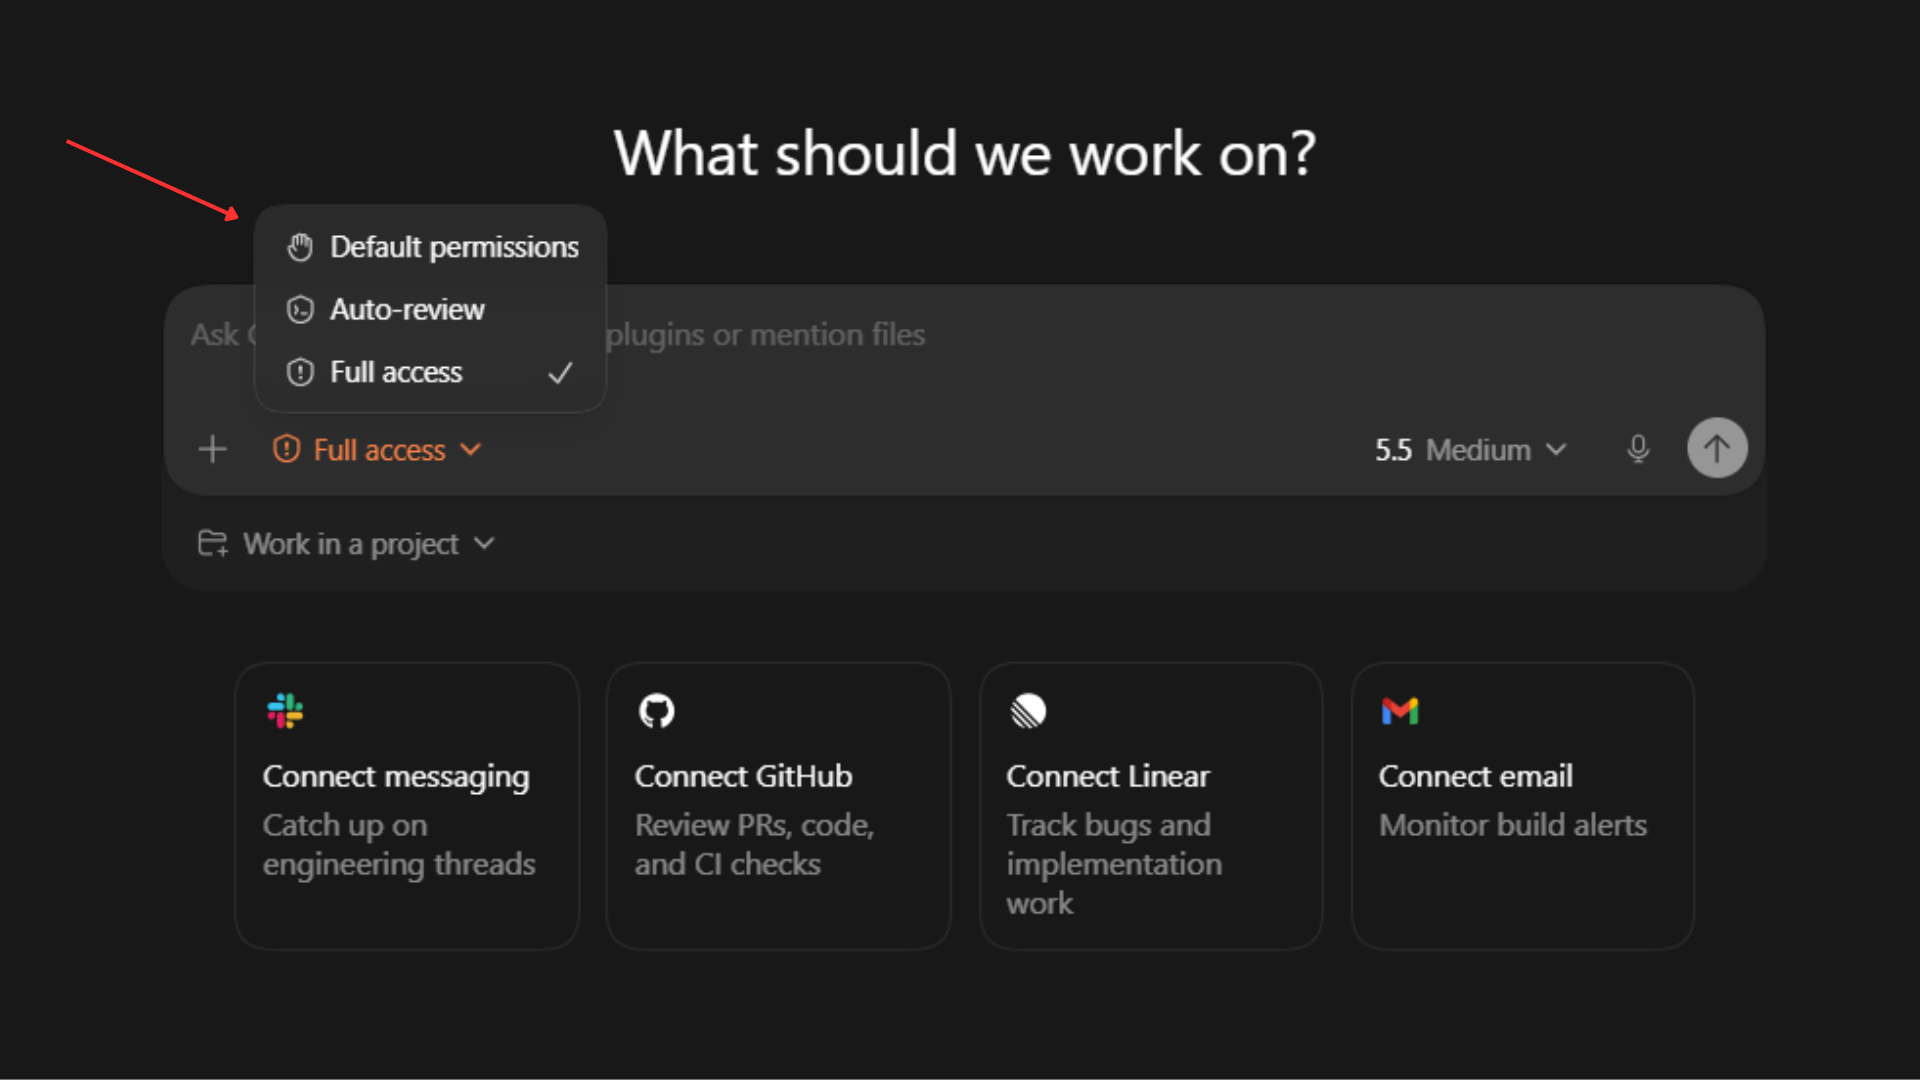
- Default permissions — Codex can read files and suggest changes, but won't modify anything or run commands without prompting you. Good for exploration and planning.
- Auto-review — Codex can make changes and run code, but pauses and shows you a summary before completing each task. This is the recommended setting for most real work.
- Full access — Codex executes tasks end-to-end without stopping for review. Only use this when you've already tested the workflow and you trust it completely.
A good habit: always start a new workflow on Default permissions or Auto-review. Upgrade to Full access once you've seen the output a few times and you're satisfied it's doing exactly what you intended.
Better AI work comes from giving the agent a workspace, not just a prompt.
What Codex Can Work With
Codex becomes more useful as you give it more to work with. Here's what it can access and use, depending on what you provide.
Files and Documents
- Markdown notes and project briefs
- Word documents and PDF handouts
- CSV and spreadsheet data
- PowerPoint outlines
- Screenshots and images
- Website HTML and CSS files
- Code files and scripts
Tools and Capabilities
- Computer use: Codex can see and interact with apps and browser interfaces when given permission. Useful for visual QA, testing forms, and reviewing layouts.
- Skills: Reusable workflows you write once and run whenever you need them. A skill packages up your instructions, constraints, and expected output so Codex does the task your way, every time. You'll write your first one in Module 07.
- Plugins: Ready-made skills you install from the Codex Plugins page. Each plugin adds a new capability in one click. There are plugins for Gmail, GitHub, Chrome, Netlify, Figma, and more.
- MCP connections: The underlying protocol that lets plugins connect to live tools and services. Once an MCP connection is active, Codex can read real data from those systems and push work back to them.
- Automations: Schedule a skill or workflow to run on a regular cadence without you having to kick it off manually. Best saved for after you've tested the workflow and you're confident in the output.
- Preview: Review documents, websites, spreadsheets, and apps before approving changes.
What Codex Should Not Do Unsupervised
- Publish or send anything to live systems without your approval
- Access sensitive personal or financial data without review
- Delete or permanently modify source files
- Make decisions that affect real customers or real money
The rule of thumb: inspect first, suggest second, draft third, edit fourth, publish only after a human approves.
How This Course Is Structured
This is a 7-module course. Each module builds on the previous one. By the end, you'll have a complete Codex workflow you can reuse for real business work.
| Module | Topic | What you'll build |
|---|---|---|
| 01 | Codex Foundations | Your first practice project folder |
| 02 | Agent-Ready Prompting | Strong prompts for 3 real tasks |
| 03 | Workspace Setup | A clean, structured project workspace |
| 04 | Documents and Slides | A workshop presentation package |
| 05 | Data Analysis | A cleaned spreadsheet and KPI summary |
| 06 | Website Build | A business landing page |
| 07 | Skills and Automations | A reusable workflow and safety checklist |
Now that Codex is installed, create a project folder for it to work inside. Here's how to set up your first practice project.
Step 1: Create a folder on your computer called:
codex-crash-course-practice
Step 2: Inside it, create four files:
project_brief.md       ← What this project is for
notes.md               ← Any relevant notes or ideas
sample_data.csv        ← A small dataset (or leave blank for now)
website_idea.md        ← A rough description of a website you want
Step 3: Add a few sentences to each file. They don't need to be polished. The goal is to give Codex something real to inspect.
Step 4: In Codex, open this folder and run this prompt:
Inspect this project folder and summarize what files are here.
Do not edit anything yet.
Tell me what you think this project is for and what information is missing.
Read the response. Notice how Codex treats the folder as a workspace, not just a source of text. This is the starting point for everything else in this course.
Key Takeaways
- Codex is an AI agent that works inside a project, not just a chat window. It reads files, uses tools, follows permissions, and produces output you can review.
- The mental model: Prompt, Context, Files, Tools, Permissions, Preview, Automation. Every module in this course maps to one or more of these steps.
- The first safe task is always inspection, not editing. Give Codex something to read and summarize before asking it to change anything.
Ready to Keep Going?
That's the end of the free preview. Enroll to unlock all 7 modules, hands-on exercises, and downloadable resources.